How to link construction tasks to drawings and site locations
Link a construction task to the simplest location reference that lets the assignee find the work without another call: an area label for broad work, a grid reference for structural positions, a drawing and pin for a precise design location, or optional GPS context for outdoor work where coordinates are genuinely useful.
Choose the right location reference
- Area or level: enough for work that covers a whole room, elevation, roof zone or floor.
- Grid reference: useful when the site team already navigates by structural axes.
- Drawing number: identifies the design context but may still leave several possible locations.
- Drawing pin: points to the exact place on a selected drawing.
- GPS coordinates: optional context for outdoor or spread-out sites; use them only when the chosen location feature and site conditions make them useful.
These references can be combined. “Level 3, grid C5, S-301 rev C, drawing pin” is still readable without pretending that coordinates or a pin replace the written scope.
Create an unambiguous location-based task
-
Write the physical outcome
State what must happen before adding location codes. “Move sleeve 150 mm east” is clearer than a pin attached to “fix this.”
-
Add the human-readable area
Use the name crews say on site: roof plant zone, east stair, apartment 3.12 or loading yard.
-
Add the technical reference
Include the grid, drawing number and revision when they govern the instruction.
-
Place a drawing pin when precision helps
Use the pin to remove ambiguity between repeated rooms, details or positions. Keep enough text for the task to remain understandable in a list.
-
Attach field context when useful
A photo, video or voice note can show the current condition. It supports the location reference; it should not be the only description.
What happens when a drawing changes
A task should name the drawing revision used for the instruction when that revision matters. If the drawing changes, review open linked tasks before assuming their pins still communicate the same requirement. Update the task context or create a replacement task when the required outcome changed.
Drawing revision control is a wider process than task location. See the full construction drawing management guide for current sets, superseded revisions and distribution.
Doing this in TerenIQ
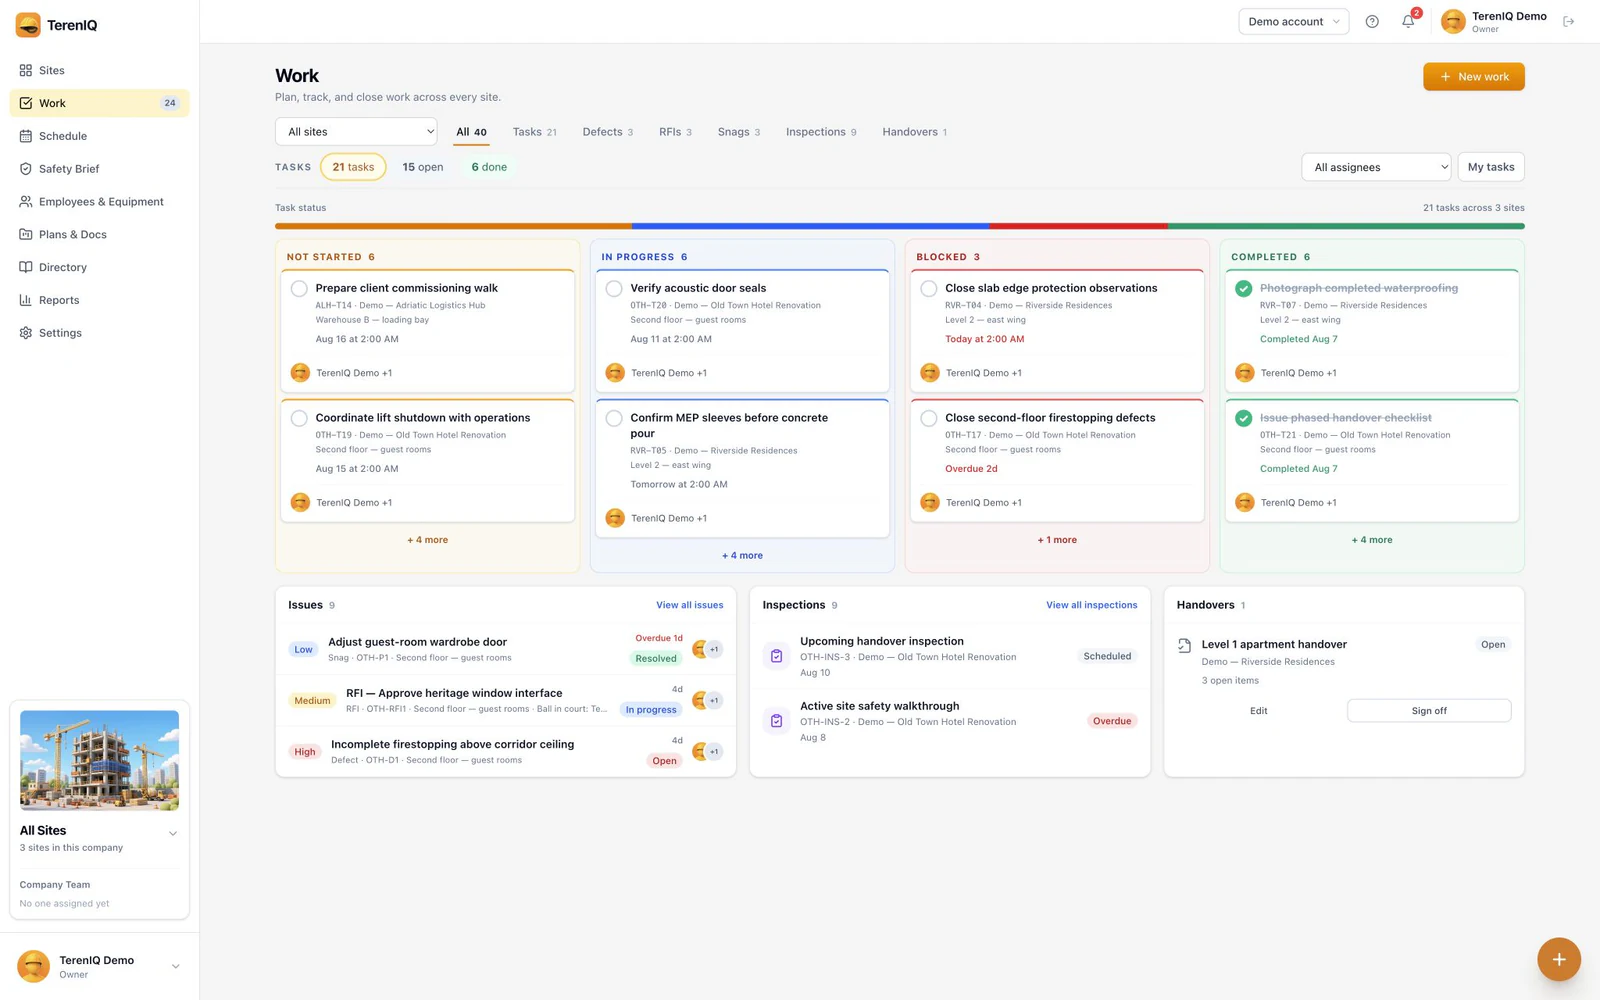
TerenIQ tasks can carry several kinds of location context:
- Select the project and add a location label or grid reference.
- Choose a drawing and place a drawing pin when the work needs visual precision.
- Optional GPS coordinates are added only when a user chooses an applicable location-enabled feature.
- Add comments and photo, video, voice or document attachments alongside the written scope.
Frequently asked questions
Should every construction task be pinned to a drawing?
No. Use a drawing pin when it removes real ambiguity. Broad work may need only a clear area or level, while grid-based work may be easiest to find from the grid reference.
Does a drawing pin replace the task description?
No. The pin identifies a place; the title and description state the required outcome. Keep enough text for the task to remain clear in lists and notifications.
Should GPS be attached to every site task?
No. GPS is optional context and is most useful on outdoor or spread-out sites. Use an area, grid or drawing pin when those references match how the crew finds the work.