How to create and close out a snag list
A snag list is the schedule of defects and unfinished items compiled toward the end of a construction project — the gap between “built” and “done.” The goal is not a long list; it is a short loop: found, described, assigned, fixed, verified, closed.
Creating the list: walk, pin, describe
-
Walk room by room, system by system
Snag in a fixed sequence — every room, then every system (doors, glazing, M&E, finishes, externals). Random walks produce random coverage.
-
Pin every snag to a location
“Scratched frame, W-07, Level 2 north elevation” gets fixed. “Scratched window frame somewhere on 2” gets debated. Pin the snag on the drawing so the location argument never starts.
-
Photograph everything
One wide shot for context, one close-up for the defect. The photo pair is what prevents the 'it was already like that' and 'that's not what I meant' conversations.
-
Describe the standard, not just the fault
State what acceptable looks like: “fill and repaint full wall face, colour-matched” beats “fix paint.” Snags bounce when the fixer and inspector imagine different outcomes.
-
Assign every snag to one company with one date
A snag without an owner and a due date is a wish. Assign to the responsible subcontractor and agree the re-inspection date at assignment.
Closing out to zero
- Verify fixes with a photo, taken at the same spot as the original. Closed means verified, not claimed.
- Track re-opened snags separately. A snag fixed badly twice is a quality conversation with that trade, not a third entry.
- Report the burn-down weekly: open, closed, overdue, by contractor. Close-out stalls in the dark; a visible count creates its own pressure.
- Get the sign-off recorded. When the client or their agent accepts the works, capture the signature against the final list — that record ends the project cleanly. See the handover checklist.
US teams: the same process under a different name — see our punch list guide for the American workflow and terminology.
Doing this in TerenIQ
TerenIQ was built for exactly this loop:
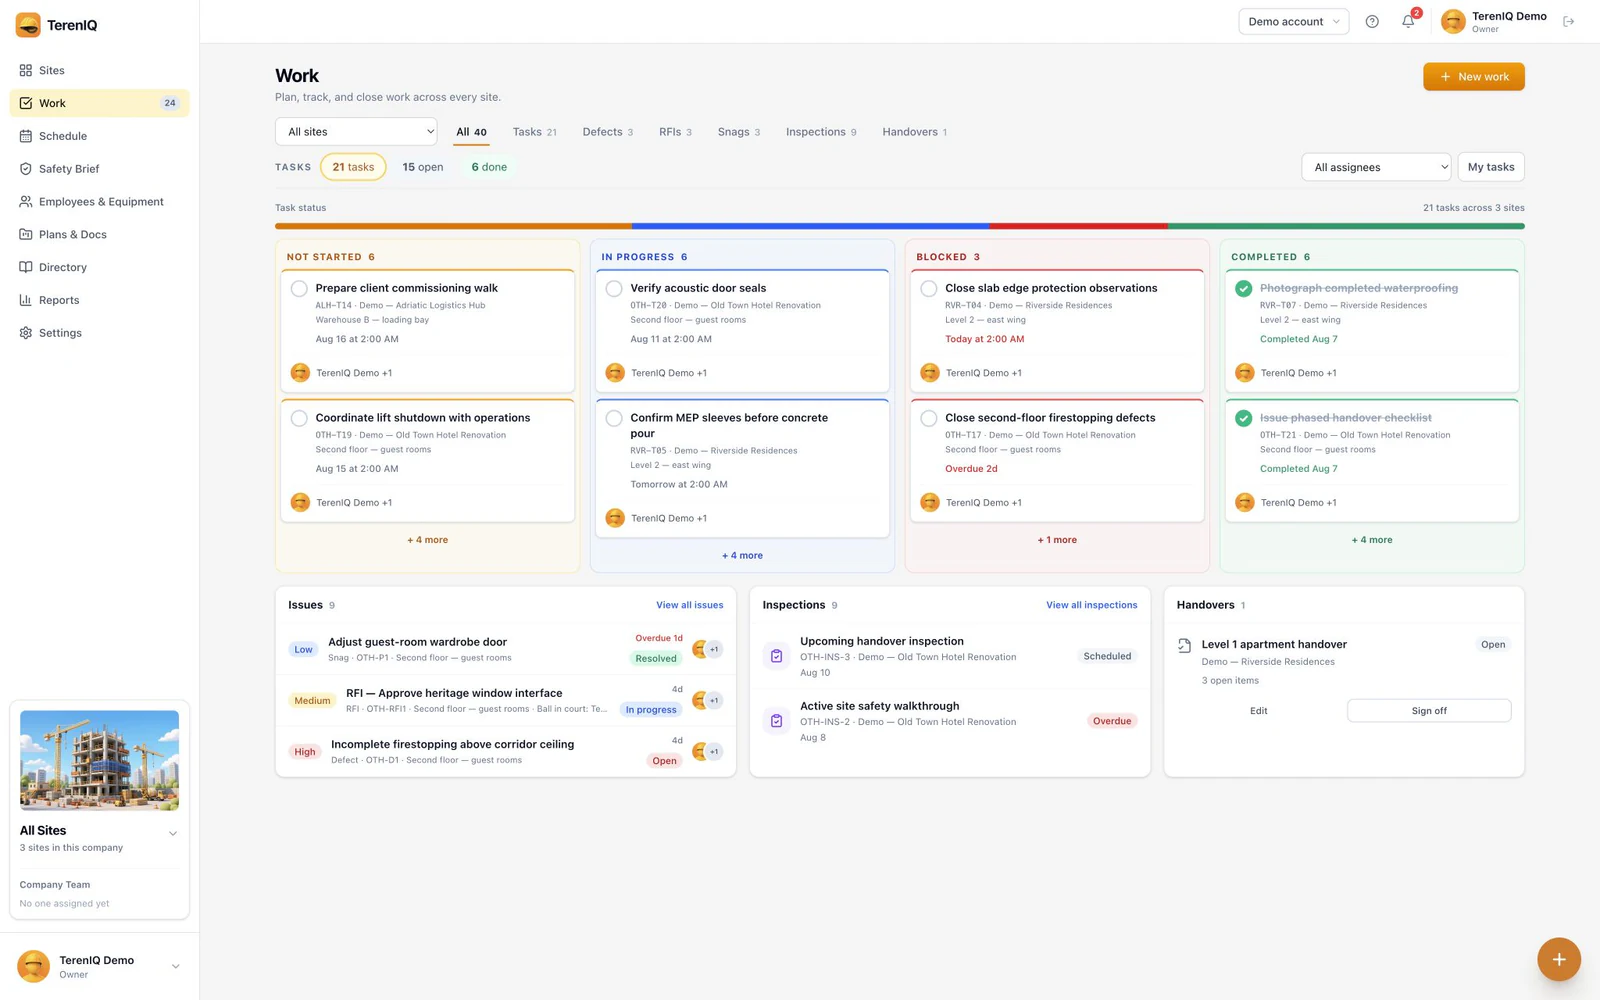
- Snags are logged from the phone with photos, priority and due date, and pinned to the drawing.
- Each snag is assigned to a company from the project directory; they see their list, not everyone else's.
- Status history is preserved end to end — raised, in progress, fixed, verified — with every photo attached.
- Client sign-off happens in the app at handover, on the phone, against the closed list.
Frequently asked questions
When should snagging start?
Before practical completion — snag each area as it finishes rather than saving the whole building for one heroic walk. Progressive snagging halves the end-of-job crunch.
What is the difference between a snag and a defect?
Usage varies, but commonly a snag is a minor imperfection caught at completion, while a defect is any non-conformance, including ones that surface during the works or in the liability period. The management loop is the same.
Who prepares the snag list?
Typically the main contractor snags first, then the client's agent (architect, employer's agent or clerk of works) inspects and issues their own list. Running both lists in one system prevents duplicates and missed items.