How to do a construction site inspection
A construction site inspection is a structured walkthrough against a checklist — safety, quality or progress — that ends with recorded findings and assigned fixes. The inspection that improves a site is not the walkthrough itself; it is the loop that closes afterwards.
Running the inspection, step by step
-
Start from a template, not a blank page
Build the checklist once per inspection type — weekly safety walk, pre-pour, scaffold check, subcontractor quality — and reuse it. Consistent checklists make results comparable across weeks and sites.
-
Schedule it, or it slides
Recurring inspections need a recurring schedule with a named owner. An inspection that depends on someone remembering is an inspection that stops the first busy week.
-
Walk the site in a fixed order
Perimeter and access first, then work areas by level or zone, then welfare and storage. A fixed route means nothing gets skipped because a phone call interrupted the walk.
-
Record every item as pass, fail or N/A — with photos
A failed item needs a photo and a location. A passed item needs a tick. Anything ambiguous gets photographed anyway; the photo costs nothing and ambiguity later costs plenty.
-
Convert failures into assigned tasks on the spot
Every failed item becomes a task with an assignee, a due date and the photo attached — before the walk continues. Findings filed in a report nobody owns are findings that reappear next week.
-
Close the loop and keep the record
The inspection is done when its failures are fixed and verified, not when the form is filed. The completed record — findings, fixes, photos, dates — is your compliance evidence.
How often should sites be inspected?
| Inspection | Typical frequency |
|---|---|
| Site manager's walkthrough | Daily |
| Formal safety inspection | Weekly |
| Scaffold inspection | Every 7 days + after alteration or bad weather |
| Plant and equipment checks | Per schedule in the equipment register |
| Quality hold points (pre-pour, pre-close) | At each hold point, before work is covered |
Frequencies above are common practice; your jurisdiction and contract may demand more. The system holding the schedule should flag what is overdue — chasing frequencies from memory is how programs quietly decay.
Doing this in TerenIQ
TerenIQ runs this exact loop:
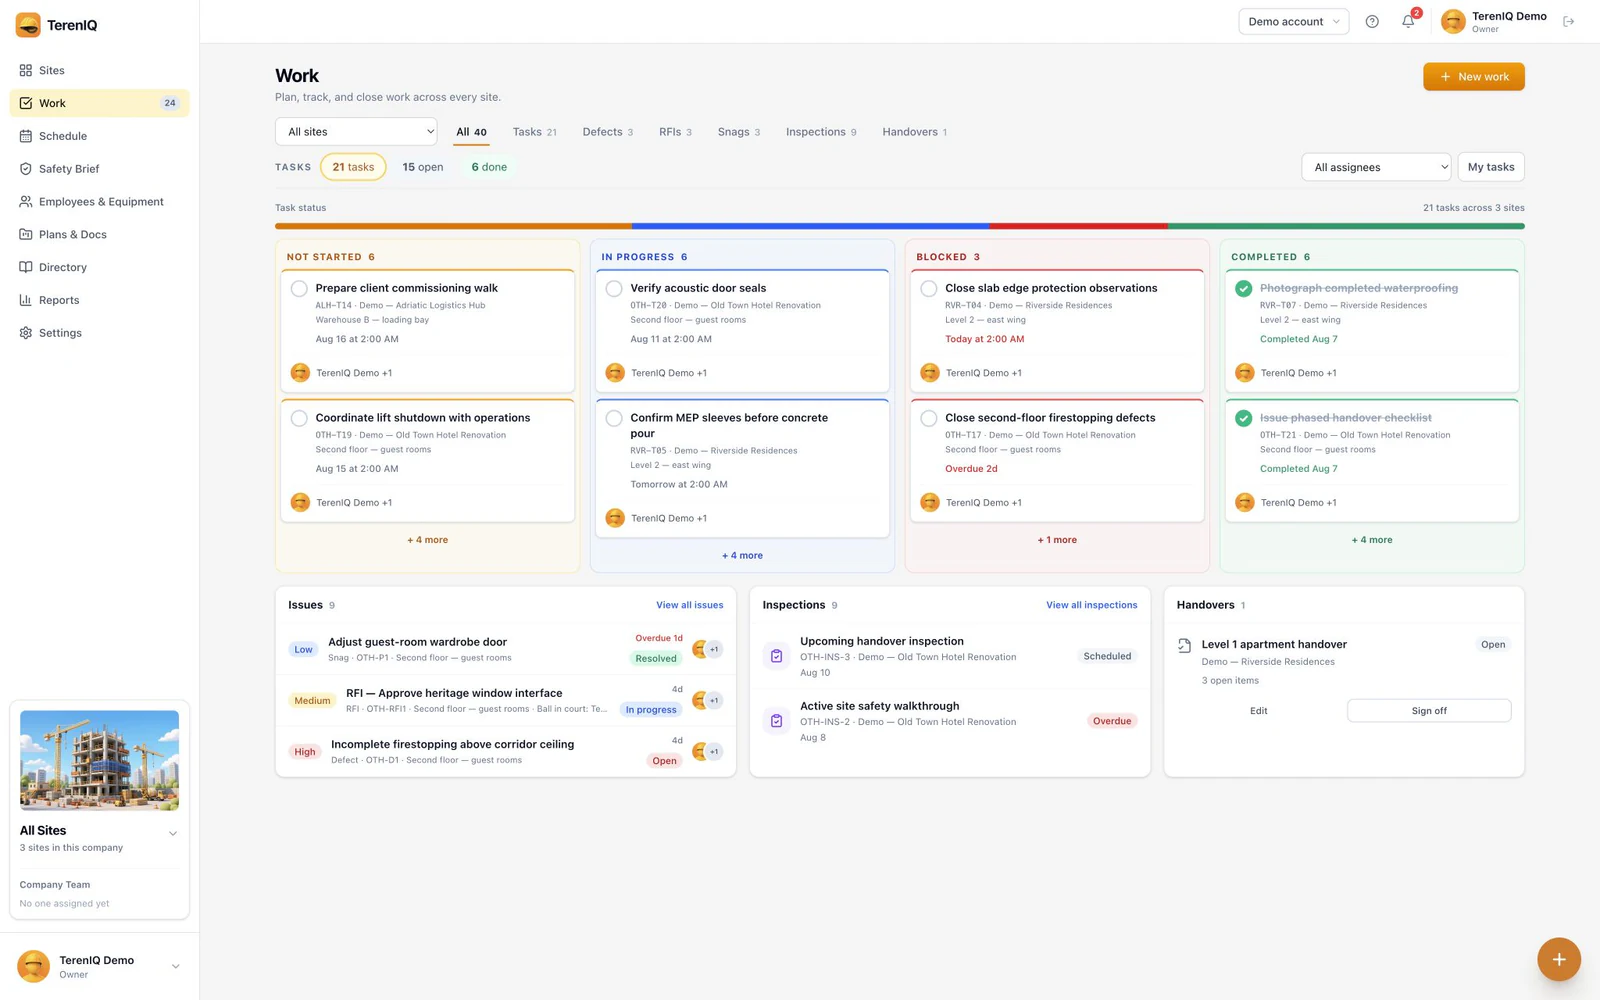
- Build inspection templates once, run them on a recurring schedule — overdue inspections flag themselves.
- Record pass/fail items on the phone with photos attached to the inspection. Precise GPS is added only when a user chooses a location-enabled feature.
- Failed items become assigned tasks with due dates and priorities in two taps.
- Completed inspections live in the project record with a full audit trail, exportable in printable reports.
Frequently asked questions
Who can carry out a construction site inspection?
Routine walkthroughs: any competent site supervisor. Statutory inspections (scaffolds, excavations, lifting equipment) require a competent person as defined by local regulations — competence meaning training, knowledge and experience for that specific inspection.
What is the difference between an inspection and an audit?
An inspection checks the physical site against a checklist; an audit checks your processes and records. Good inspection records are exactly what makes an audit painless.
Should subcontractors run their own inspections?
Yes — and the main contractor should see the results. In TerenIQ, subcontractor teams run their checklists in the same project with role-scoped access.