How to track construction defects
Construction defect management is the loop of finding non-conforming work, recording it with evidence, assigning the fix, and verifying closure. Defects only get expensive when the loop breaks — when a known problem sits unowned until it is covered up by the next trade.
The defect lifecycle
-
Capture at discovery, wherever you are
The person who spots the defect records it there and then: photo, location pin, one-line description. If recording waits for the office, half the defects never make it into the system.
-
Classify severity honestly
Structural or safety-critical items are not the same as cosmetic ones. A simple scale — critical / major / minor — drives who gets alerted and how fast the fix is due.
-
Assign to the responsible party with a due date
One defect, one owner, one date. If liability is disputed, assign investigation to your own engineer first — the defect must never sit in limbo while companies argue.
-
Fix and evidence the fix
The fixing party attaches their own photo of the completed remediation. This is what turns verification into a quick review instead of a second site visit.
-
Verify and close — or reopen
Only the raising party (or QA) closes a defect. Reopened defects keep their history, so patterns by trade and by root cause stay visible.
What to measure
- Open defects by age. A defect open 30+ days is a process failure regardless of severity.
- Defects by trade and by type. Ten waterproofing defects from one sub is a supervision conversation, not ten separate fixes.
- Reopen rate. Fixes that fail verification tell you about workmanship and about how well defects are being described — see the description discipline in our snag list guide.
- Cost of rework. Even rough numbers make the case for prevention; our rework guide covers the upstream fixes.
Doing this in TerenIQ
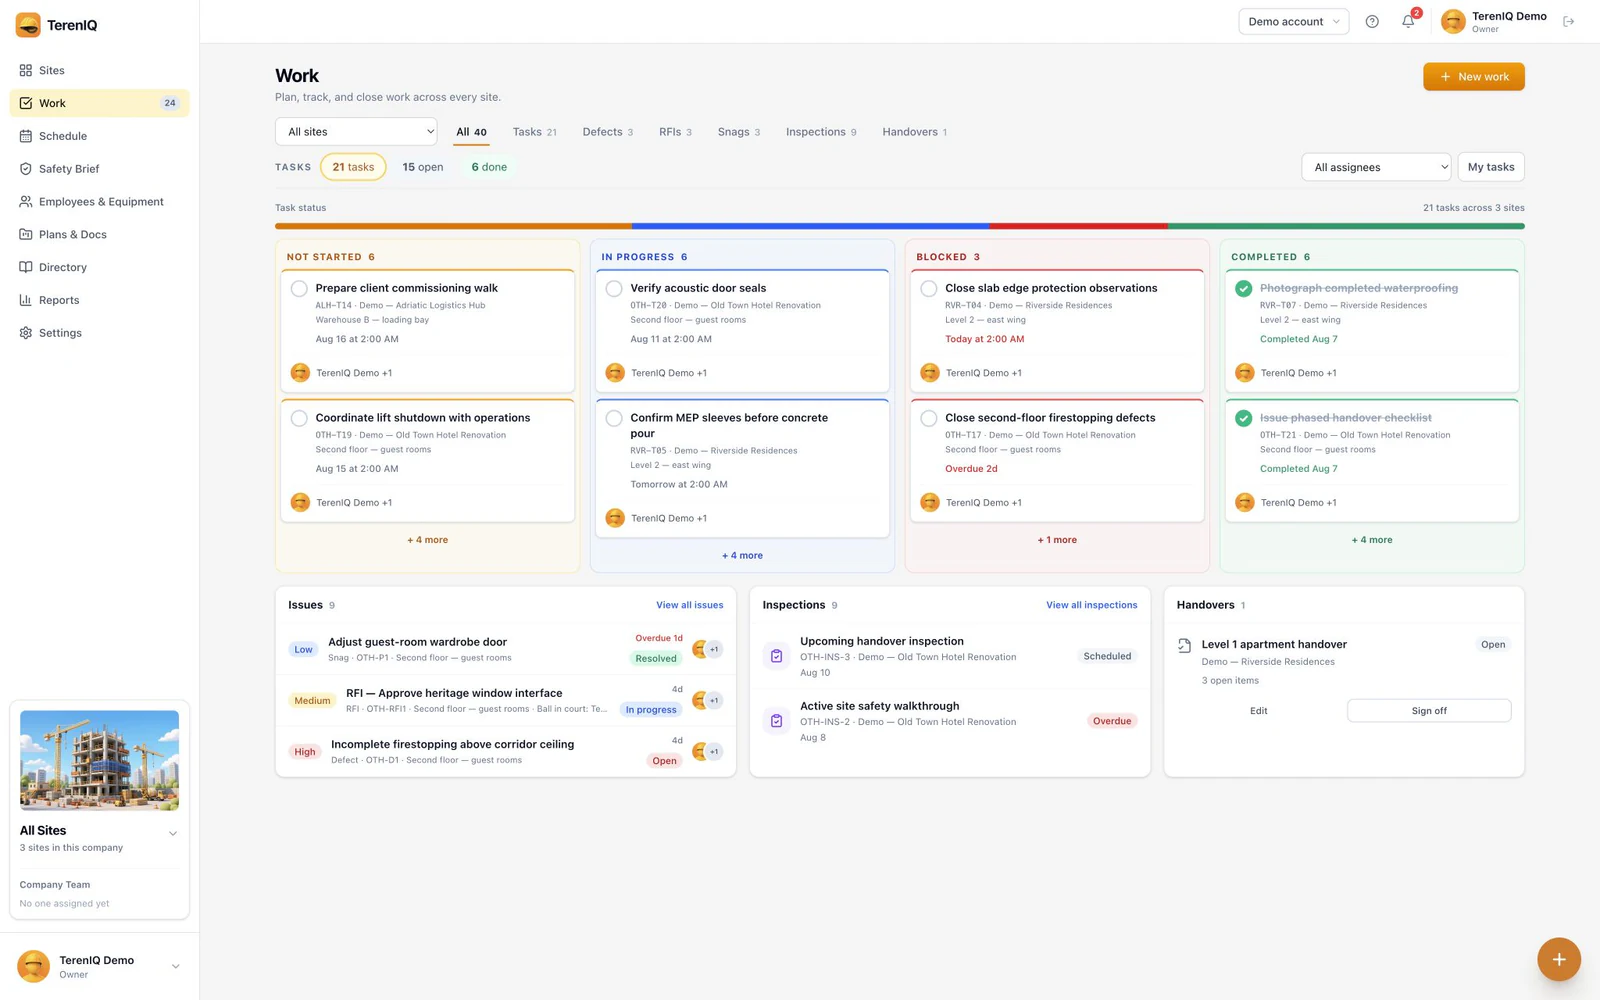
Defects in TerenIQ are first-class work items:
- Log a defect from the phone with photos, pin it on the drawing, then set severity and due date. Precise GPS is added only when a user chooses a location-enabled feature.
- Assign it to the responsible company from the directory — they get a push notification, not a forwarded email.
- Status history is immutable: raised, assigned, fixed, verified, with every photo in one thread.
- Dashboards show open defects by site, age and assignee, so nothing ages quietly.
Frequently asked questions
What is the difference between a defect, a snag and an NCR?
A defect is any work not conforming to the contract; a snag is the informal term for minor completion-stage defects; an NCR (non-conformance report) is the formal QA document recording a defect against a specification clause. One tracking loop can carry all three.
Who is responsible for fixing defects found after handover?
During the defects liability period, the contractor must return and remedy notified defects. Precise records with photos and dates are what prevent scope arguments about what was and was not defective at handover.
How quickly should defects be fixed?
Set by severity: safety-critical immediately, major before the affected area advances, minor within an agreed window. The key is that every defect has a due date someone accepted.